Navigating the New Learning Bird App
Fall is a beautiful season full of promise: new classes, new learners, fresh supplies, and a clean slate. As our Director of Product, Louis Beauregard, outlined in his post, we’ve spent the summer making some amazing changes to our app. We made so many great changes we thought you might benefit from a quick overview of navigating the app and preparing your class pages to share resources with your learners.
Most of you will have the opportunity to participate in a face-to-face onsite training session with your Learning Bird Education Account Lead. Until we are on-site to show you the app live, this article highlights some of the most common tasks.
Logging In
My first pointer is to update your bookmark for the Learning Bird login page. If your school uses the cloud version of Learning Bird, the login page is now app.learningbird.com/login/. This change comes as a result of our corporate website relaunch. Our website is now at www.learningbird.com, and our app is at app.learningbird.com. Splitting the website and the app makes it easier for our users to switch back and forth without logging in and out.
If you use the local server, Learning Bird Nest, your login URL remains the same (nest.learningbird.com/).
Introducing Class Pages
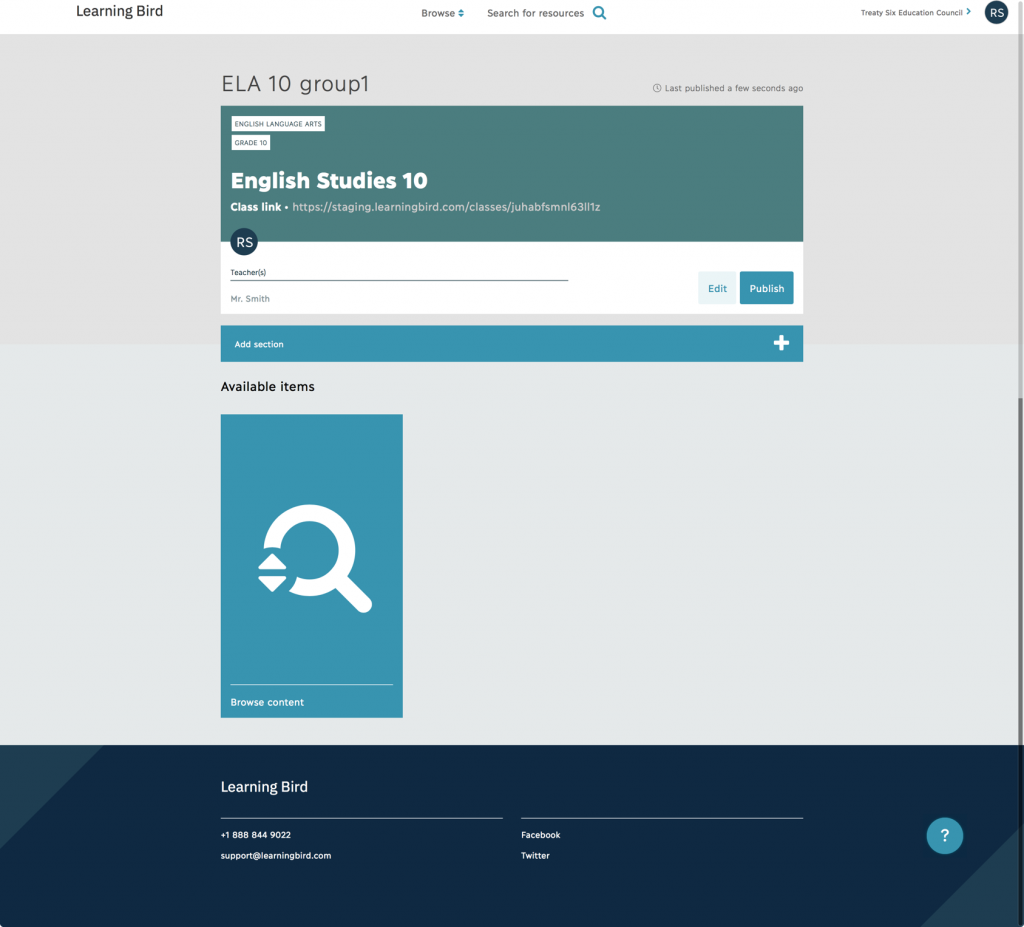
One of the biggest changes to our platform is the addition of class pages. These pages enable you to organize resources you want to share with your class on one page. You have control over categorization, organization, publication, and visibility. These pages provide easy resource sharing without requiring your learners to have individual student logins.
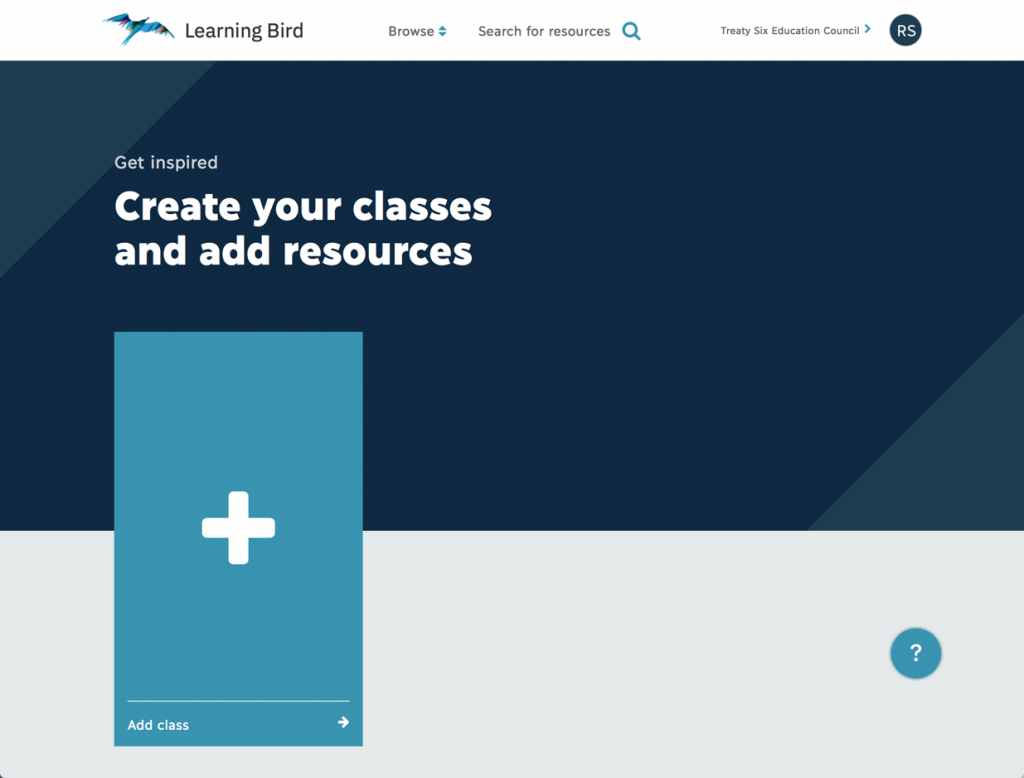
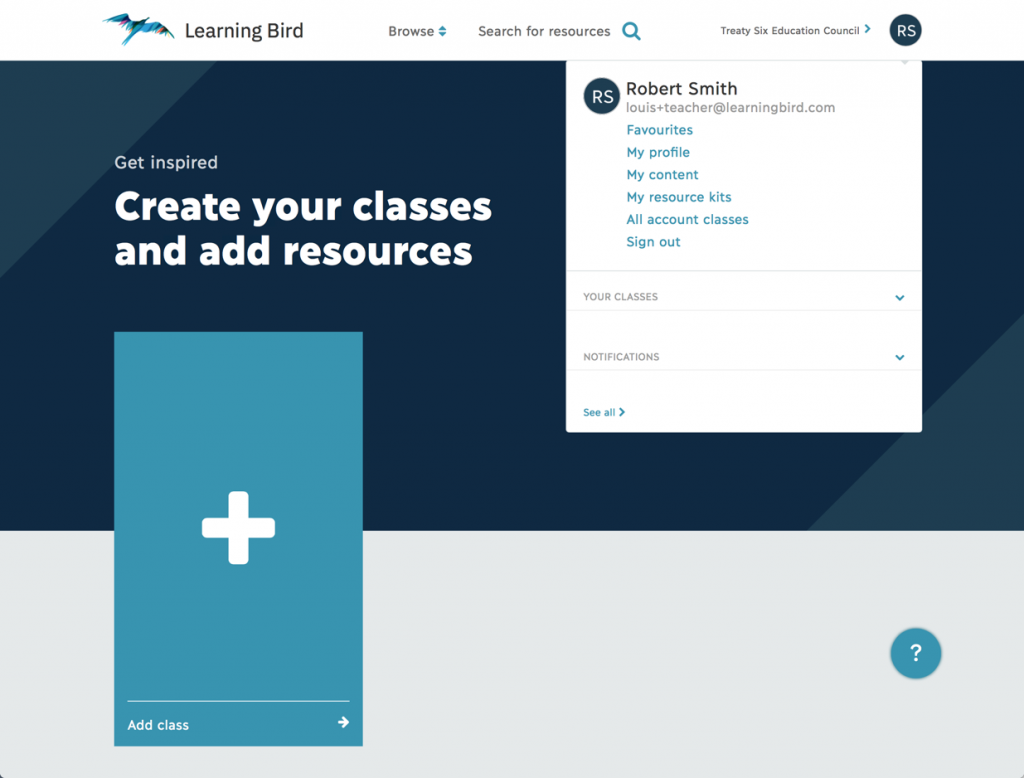
When you log in to your account for the first time, you will be asked to add a class. You can click on the Add class card on the homepage and follow the prompts to add a class.
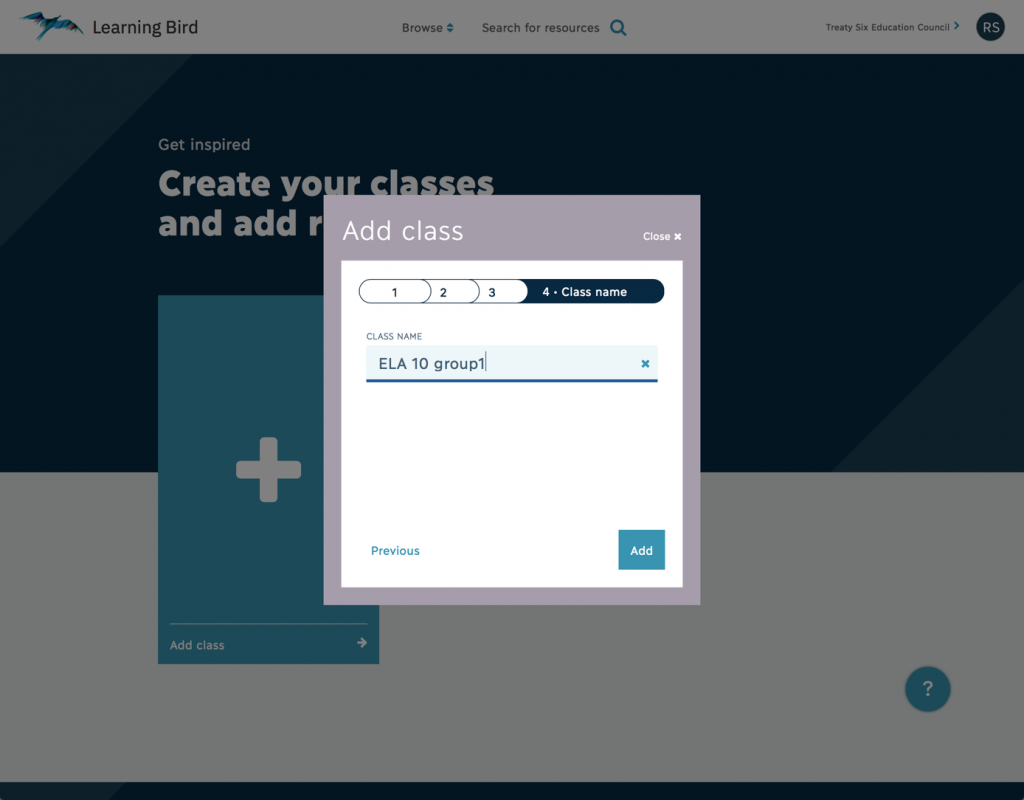
 It will guide you through a step-by-step process to choose your subject, select your grade, choose the course that’s part of your local curricula, and name your class.
Once you’ve set up your class page, you can navigate to the Search/Browse icon on your class page to find and add resources.
Resources and Resource Kits
To navigate the platform, it’s important to understand the difference between a resource and a resource kit. A resource is a video, audio file, presentation, or handout that you can use with your class. A resource kit is a collection of learning resources that follow a specific learning progression. Resource kits include a hook, one or more main learning activities, and a demonstration of learning.
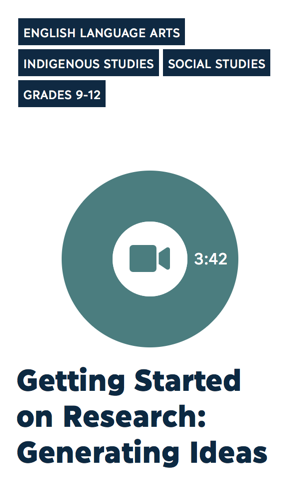

Individual resources feature an icon on the card. In contrast, resource kits include a description, a list of resources, and icons to show the resource formats.
Finding Resources for Your Class
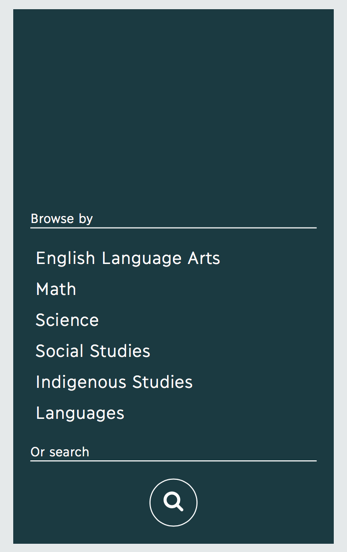
You can find resources for your class by browsing or searching. To browse for resources, use the Browse button at the top of the page. You can then select a subject area, like Math. You will then see all our resources and kits supporting that subject. You can open the Filter panel and specify the grade range, sub-topic, resource type, or collaborator to narrow down your results.
The other way to find resources is through searching. The search box is at the top of the app. Enter any term and hit Enter. This will display all resource kits and resources that match your search term. You can then further refine your search results by opening the Filter panel and making a selection.
Adding Resources to Your Class Page
Once you’ve found a resource that you would like to share with your class, hover over the resource to see the available actions. Click on “C” to add the resource to your class page. You then see the classes dialogue box and select the desired class page. Once you add the resource to the class page, you will see it under the Available items section. You can then move these resources into class page sections or create new ones.
Finding Local Resources
If we have already created resources in collaboration with your school or organization, you can access these by clicking the school or organization name in the top right-hand corner of the screen.
You can also find these by selecting your organization’s name from the Collaborators list in the filter panel. If your community is not currently listed under the Collaborators section and is interested in creating content together, please contact us.
Other Tasks
In addition to the basic tasks listed in this article, you can also:
- Add co-teachers to your class pages. This way, both you and any co-teachers or educational assistants can add resources to your class pages.
- Create sections in your class pages. That provides you with a way to organize your resources into units, weeks, or other groupings.
- Favourite resources and resource kits. Mark relevant resources as favourites and easily find them in the future.
- Edit your profile. That allows you to change your avatar, name, region and reset your password.
All of these tasks are outlined in our How-To videos within the application. You can always find help resources by clicking on the “?” within the app.
Have Questions? Just Ask!
This is just a quick snapshot of how to navigate the new app. For more information on completing specific tasks on the platform or other questions, please consult the How-To videos under the help section in the app or contact your Education Account Lead.
Itching to see our new app but don’t have an account? Sign up now for a free, 14-day trial account.


